Tuesday, March 14, 2017

PREPARE! PREPARE! PREPARE!

Prepare in every aspect of the definition means doing something before you embark on a adventerous trip of any kind. When referring to outdoor activities it means being ready for different weather conditions, mental prep for different scenarios you may encounter including emergency situations, and having the proper gear/equipment to assist in desperate circumstance. 

I began to explore the wilderness, beyond my own backyard, more than 14 years ago this year and even today I can't confidently say I'm an expert in everything that do. Looking back there was one hike that I didn't do enough prep and later while on the trip I suffered the consequences. Thankfully the consequences didn't cause physical harm but one time was enough to forever place a guilt in my gut if  I don't prepare enough. 

I came across this interesting chart in the Jan/Feb 2017 Issue of the Adirondack Explorer which prompted me to write this blog. I am also very grateful for the fellow hikers and other adventurous individuals who had a tremendous influence in my outdoor trips. 

The data in the chart was gathered over a 2 year period and 239 search-and-rescue missions were reviewed. Since then the amount of hikers in the ADK has jumped from ~6500/year to ~16,000/year. With such an increase in traffic, the rescue missions are bound to increase as there are more and more novice hikers. 

A concerning finding from the study was that many people were unprepared to be in the woods or had little experience in the activity that they had chosen. Of the 239, 93 of the victims had little experience and 15 had no experience. And the exact reasons were, 192 people had inadequate equipment and 139 had inadequate clothing. 

A different study conducted in 2003 found that one-third of the hikers in the eastern High Peaks were inexperienced or visiting for the first time. 

Another factor that may prompt someone to prepare is the cost of a rescue mission if team mobilizes to come and find you. A simple rescue may cost $120 to a more complex helicopter rescue of $60,000. And yes you do sign a form before you are rescued that you are responsible for all costs. There is absolutely no health insurance coverage for the rescue unless you pay a separate insurance for your outdoor adventures. 

In my opinion its never bad to be overly prepared. The only downside to being over prepared and inexperienced is the heavy weight of your bag and the forthcoming physical consequences of carrying all the weight. 

Some helpful hints on how to prepare I have listed below:

1. Months in advance begin to follow a blog of hikers and more experience outdoors people and ask questions on forums for areas of interest.

2. Ask for advice about equipment and gear. Just because its more expensive doesn't mean its better.

3. Plan a trip with another person and review gear and prep work together.

4. Always let someone know of your travel plans (hiking distance/ estimated time) before you go on the trip.

5. It never hurts (maybe a little in the shoulders) to have the following things:
    a. a flashlight (preferably a headlamp)
    b. extra food
    c. extra water
    d. GPS
    e. rain gear in summer / extra layer in winter
    f. first aid kit with a couple rolls of ACE wrap

6. Choose the best weather conditions. This should be a priority. Just because you took a vacation doesn't mean the weather has to cooperate. 

7. Know your limitations. Physical training is a must in order to be best prepared for the activity.

8. Have a plan and stick to it. 

9. Bring a positive attitude. I have introduced many new people to hiking and taken them on their first-time trip and always say it before a hike. Being positive will get you further and you may be surprised at you capability. 

10. If you need a break, take it and enjoy the surroundings.  


Saturday, February 25, 2017

SNOWMOBILING IN SOUTHERN ONONDAGA

Two weeks after my Tug Hill trip, Syracuse finally got some snow accumulation worth of snowmobiling. I have to admit that the wintertime period has a different feel for it when you own a snowmobile. Snow is no longer a pain to just shovel and the cold is more inviting than ever before. Although Syracuse has barely seen much snow and cold this winter, it has been a good winter overall so far. Its only the end of February and its always an adventure for the fellow Syracusean when the winter will actually end. 


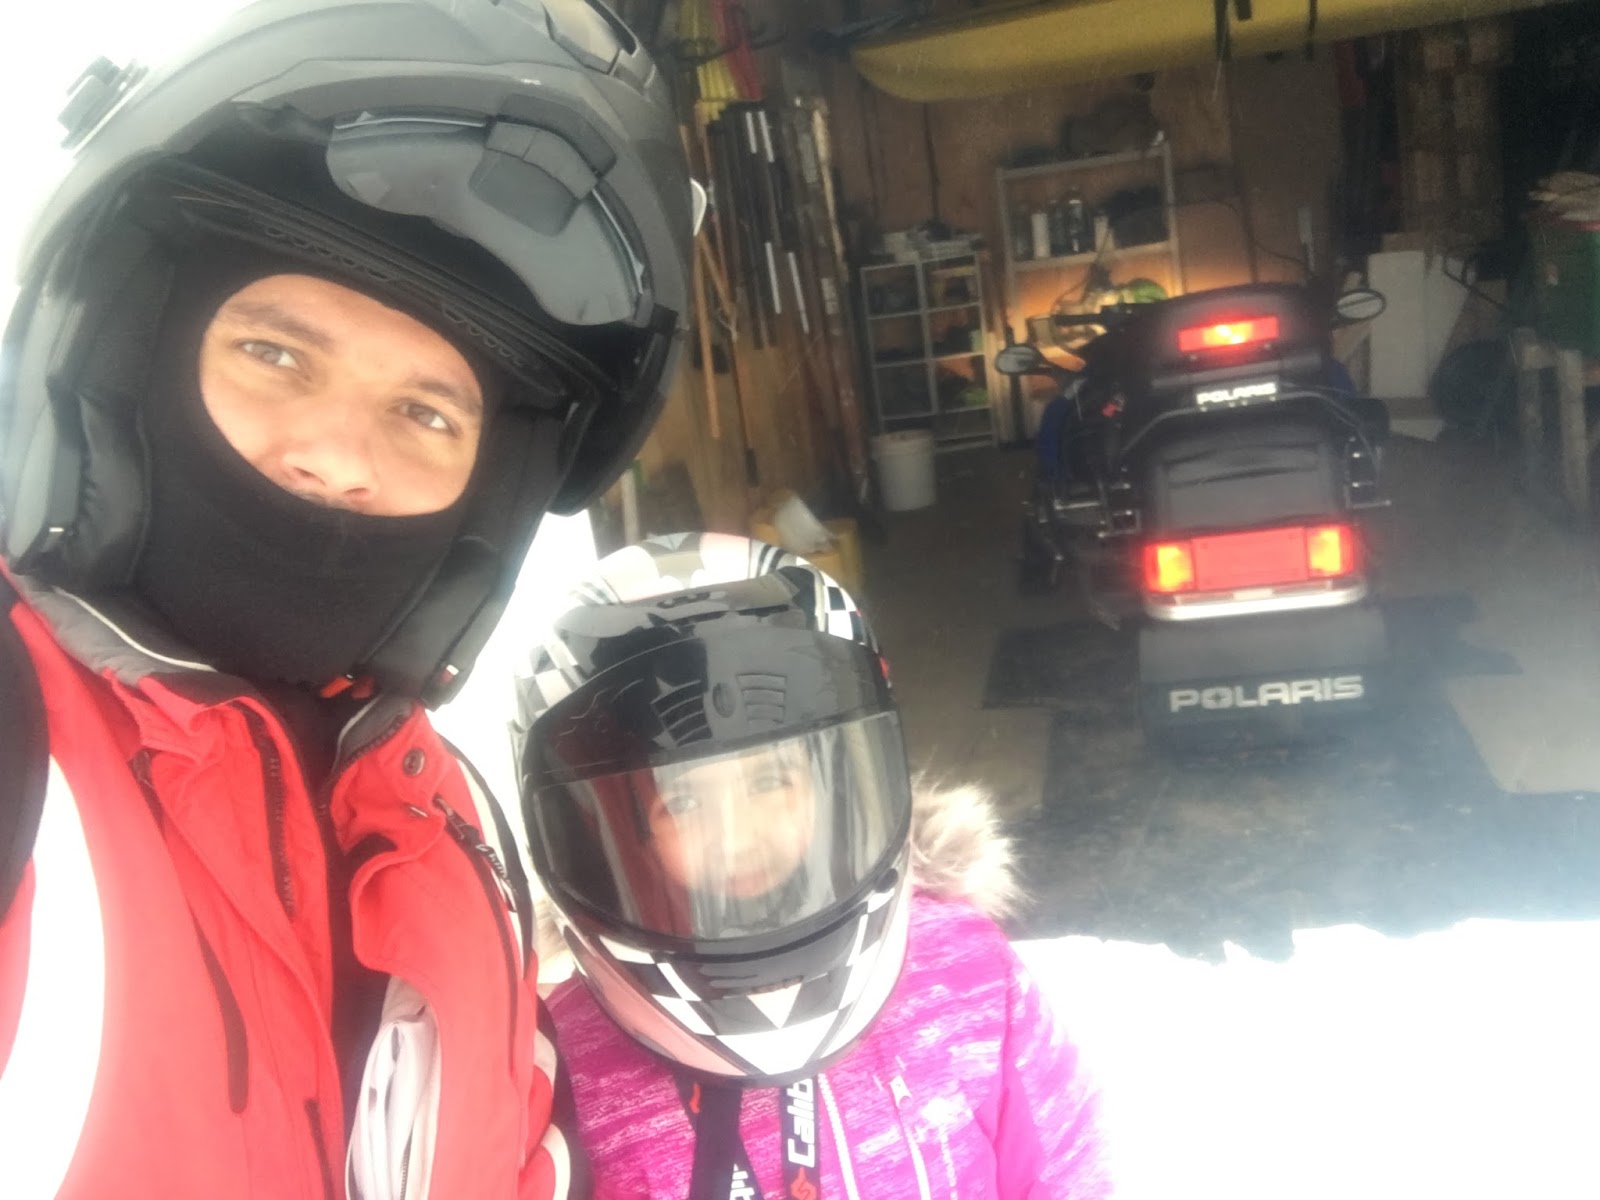
The next day after the heavy snowfall Alexis the oldest child is my partner in crime when it came to sledding. I'm hoping we will have many more adventures on the sled. Her favorite part is going to grandma's house which is only 15 minutes by sled. We take a nice break at grandma's house and head back. We have slowly been increasing our rides together whenever we get some snow. 


We had to take a little scenic viewing break in grandma's woods to look at the snow covered tree bark.


A LONGER ADVENTURE TO SONG MOUNTAIN

We continue to accumulate more snow and my neighbor across the street and I took a little ride down to Song Mountain in Tully. The "little ride" turn out to be a 2.5 hr adventure but it was nice to see some different trail in my part of the county.


We rode down the right side of Otisco lake down past Song Mountain to Preble. The trail conditions were borderline bad in the Tanner Valley golf course with a field of mud that had to crossed. Once we made it to the top of the first hill overlooking the valley the conditions improved significantly. We only saw people at the larger crossroads but for the most part we were riding alone. 

In Lafayette there were some really steep ravines we had to cross and riding on the side of a steep slope was a new experience. 

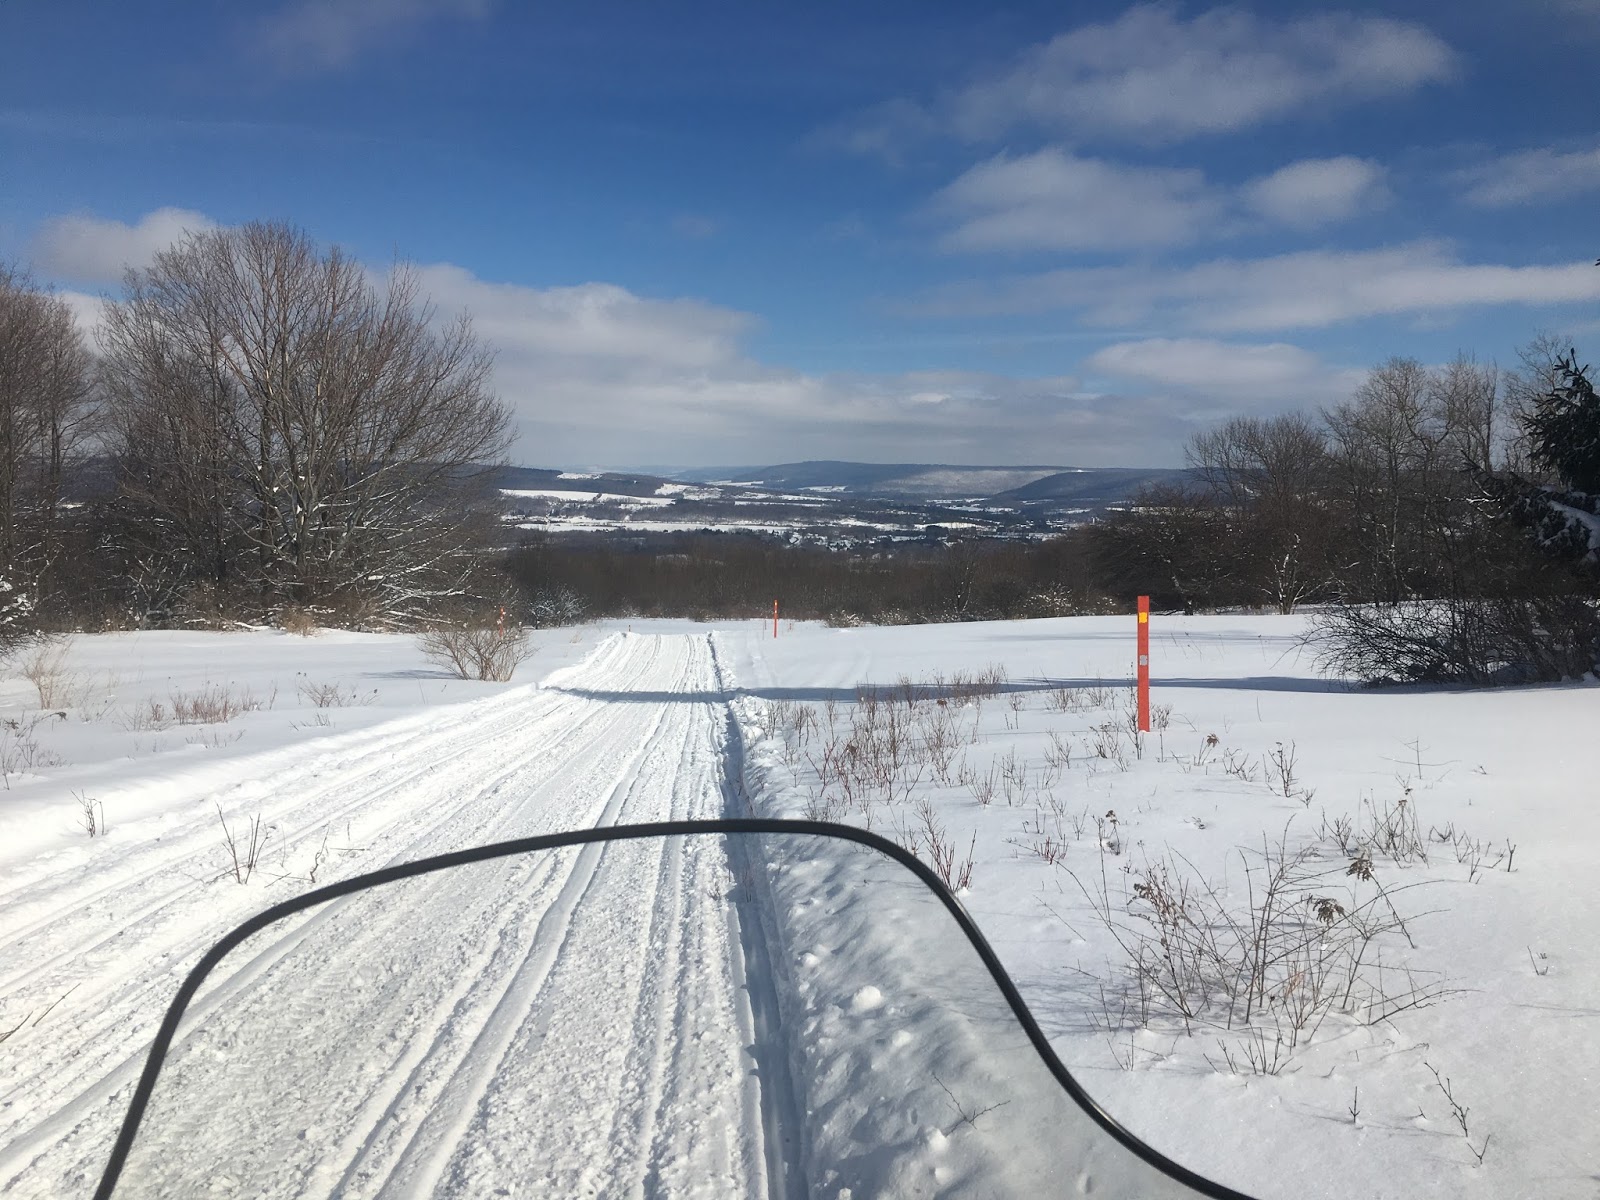
I had to stop a couple times to take a photo of great views. 


Song Mountain Ski Resort

At Preble I realized that I had taken way to much time going that far and my neighbor said if he could lead on the way back, maybe we can return a little faster. We encounter more riders on the way back and the trails started to deteriorate because it became significantly warmer. However despite the conditions we made it back faster.

Plenty of mud close to home

DAVID & IRYNA ADVENTURE

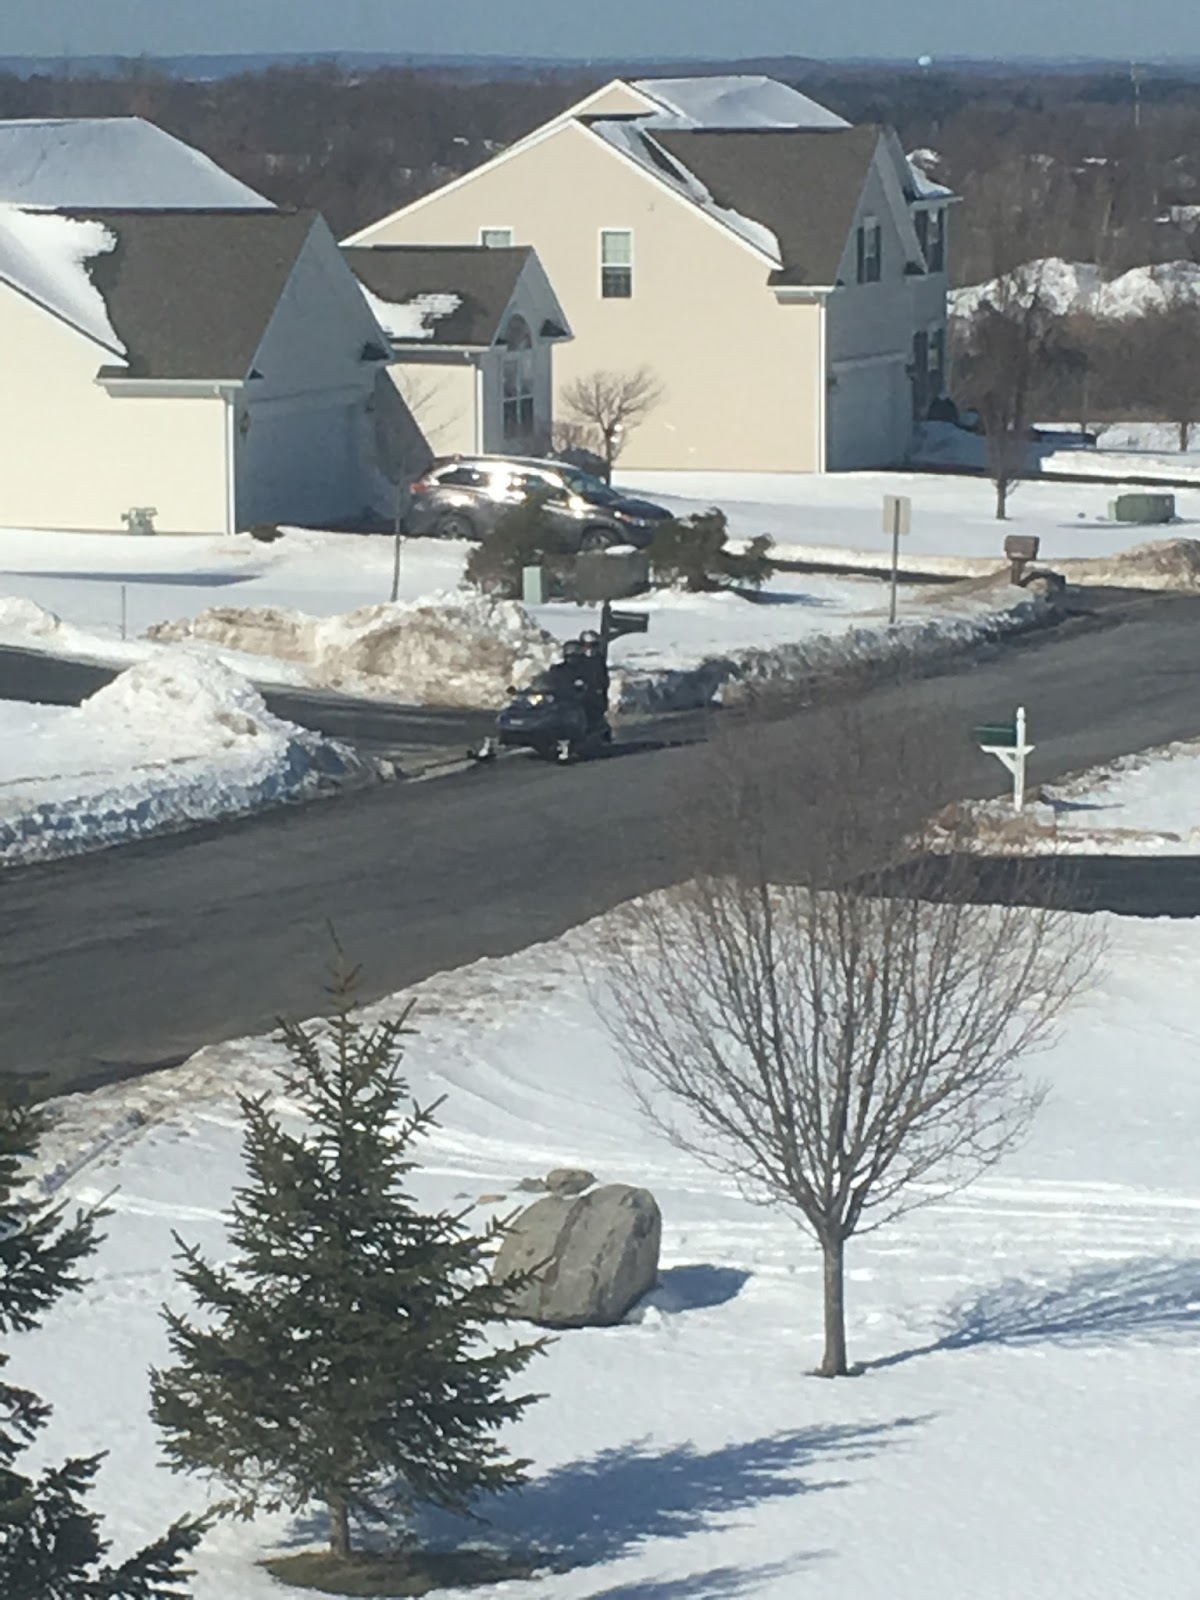
On the day we had 50 degree weather and the snow drastically started to melt, David and Iryna took a last minute opportunity to enjoy the sled for a short adventure. Going beyond Route 175 meant getting into heavy mud so they stayed in the nearby fields.

I can see the trail from my second story window, which is is just to the right of the last house on the left, 75 yard run on the road.


It was so warm that it was nicer to ride with the visor up and the jacket unzipped. However, these conditions are ideal for sledding. Syracuse weather alway throws surprises and we had at least one more month of official winter before the trails also close officially. I'm still hoping for one more ride before I summerize the sled.

Friday, February 24, 2017

SNOWMOBILING IN THE SOUTHERN TUG HILL REGION

Winter may seem like it's over for Upstate New York but that's not how a few people felt a mere hour north of Syracuse. One of the local weatherman traveled up north and post the following two photos which give a great appreciation what it means to that much snow. On the other side of the country eastern California saw some record snow fall as well. 


 A fellow co-worker, Joe, invited me to ride with him in the Tug Hill Region, know for the snow and great trail system. I'm always up for a new adventure, so we headed up to Williamstown, during a small break in the heavy snowfall. 


We parked at the gathering grounds in Williamstown which had a good 2 foot base and headed it out toward Redfield. From there we went southeast towards Florence and took a few minutes off the sled at the Florence Hotel. 

Paper tape on my nose prevented the latex in the rubber guard from irritating my skin

Joe and I

Beautiful Ski-Doo 600's

My ride for the day

From Florence our intentions were to head toward High Market and loop back down. However at one of the cross roads we consulted another rider who said, "put away the map, let me tell you how to get there." And then proceeded to instruct us to go a much longer way to our destination. When riding one quickly realizes that there could be a lot more trail markers to provide a more clear path from point A to point B. Before we knew it we were by Lee Center which is located just outside of Rome. We also noticed the significant decrease in snow on the ground. Fortunately we didn't have to ride on a muddy trail for more than a couple miles before we saw feet of snow again. 

From Lee Center we went to Osceola were we stopped at the World Famous Osceola Hotel for a quick bite to eat. It was nice to be off the sled and relaxing but the meal prep did take longer than anticipated but it tasted better than expected. After a good 60 minute break we walked outside to find a nice snow band overhead dumping a lot of snow. It was pretty and all but riding wasn't as fun when visibility was 20 feet. 

Thankfully as we got close to Williamstown the snow tapered off and we had a little break and another opportunity to enjoy the ride before hitting the trailer. 


Overall it was great ride and it was wonderful to appreciate a whole new world of snowmobiling. I only scratched the surface of the Tug Hill trail system and hopefully there will more opportunities to explore further north and the northwest.

Thank you Joe for trusting me with your sled and showing me around the Tug Hill region. 

We rode 100 miles exactly according to my GPS. The mapped out ride is seen below. 


YOUTUBE VIDEO OF OUR ADVENTURE

Monday, September 19, 2016

RENOGY SOLAR PANELS & GOAL ZERO YETI 400 FOR RESIDENTIAL USE!


It all started with a simple camping trip to the Adirondacks this pasting summer. Truth be told, we camp in tents but with all of our high end gear, it more glamping. This year we decided to add a little more electrical power to maintain the air mattress pressure and charge the cell phones. We also had to bring some breathing treatments for one of our kids so we wanted to be ready. 

After much reading and research, I came to the conclusion that the Goal Zero Yeti 400 would meet out needs. Basically a power pack that uses 12V, 33AH sealed lead-acid battery (AGM). It stores 400Wh for use. Here is some neat info on how many times certain devices could be charged over the lifespan of the 400Wh. 
HOW MANY TIMES WILL OUR BATTERIES CHARGE YOUR DEVICE?
Charges:Switch 8Flip 10
Guide 10 Plus
Switch 10
Venture 30
Flip 30
Sherpa 50Sherpa 100Yeti 150Yeti 400Yeti 1250
Headlamp (4 Watt-Hours)2 Charges2 Charges5-10 Charges12 Charges25 Charges37 Charges100 Charges300+ Charges
Smartphone (5-7 Watt-Hours)1 Charge1 Charge3-5 Charges7 Charges14 Charges15 Charges30+ Charges100+ Charges
GoPro® (5 Watt-Hours)1-2 Charges1-2 Charges5 Charges9 Charges18 Charges25 Charges70+ Charges200+ Charges
Digital Camera (8 Watt-Hours)1 Charge1 Charge3 Charges5 Charges10 Charges12 Charges20+ Charges100+ Charges
Tablet (25-42 Watt-Hours)25% Boost25% Boost1 Charge1-2 Charges2-4 Charges6 Charges10+ Charges45+ Charges
Laptop (50 Watt-Hours)N/AN/AN/A1 Charge1-2 Charges1-2 Charges3-5 Charges20+ Charges

It can be charged several different ways: the wall (regular outlet), car battery, or the sun. Since we are camping I thought it would be nice to go solar. Goal Zero offers a few fancy travel solar panels, the largest one being 90Wh and a but pricey. After some research, there was a better and cheaper alternative, Renogy 100Wh 12V Monocrytstalline panel. Although this panel is a bit bulky, 48" x 22",  it cuts the charging time into half when compared to the smaller Goal Zero panels. 

Once at the camp, we used the generator to inflate the mattresses and then I hooked up the solar panel to it to charge. Something happened between the start of the charging to the time I tried using it later that evening. After a little investigation in the user's manual I came to find out that some fuse was blown and the only way to fix it is to send the device back to the manufacturer. So there went my amazing experience having some extra electricity at camp. Thanks to Mike, a friend camping with us, who had invested in an inverter to use from the car battery and saved us a few times when we need to put more air into our air mattresses. 

After 3 weeks of turn around time for Goal Zero to send me another new device, I finally have the generator to use again.

The batteries in this generator work best if they are charged all the time and never allowed to go below 40-50%. So the option was to store the device in a closet and charge it every 3 months or figure out a way to use at home. So this is how I came about to setting up a single Renogy solar panel to a Goal Zero Yeti 400. 

In our part of the hemisphere, the panel had to be southern facing, and for us that meant the front of the house. I was debating on placing it on the porch roof however, the longer the chord you have between the panel and battery the more energy you lose. In fact the science behind it is, 1Wh per foot of wire. Since I would need at least a 15-20 ft chord, I could lose 15-20Wh of precious energy. Therefore I made a direct connection to the wall with a 6 ft. chord. 

THINGS YOU WILL NEED:
stainless steel 5/16 bolts, nuts, washers
galvanized steel L posts
drill
MC4 adapter
MC4 adapter extension chord
caulk
zip ties

I zipped tied all of the L posts into place and mounted the panel to see if the railing could take the weight. Everything looked well. So then I went and permanently mounted and secured everything into place. It did take a little more time than originally anticipated but it was worth spending 3-4 hrs on something that can be used every day.

I built this mounting system in order to change the angle of the panel throughout the year. If you 20-40 panels on your roof the angle doesn't matter so much because of the minimal energy lost per panel.  For a single panel however it can be a 5-10% energy lose and I wanted to be efficient. I also found a website that showed the specific angle of the panel for certain times of the year. By adjusting two bolts I can change the angle 4 times a year in under 5 minutes.


I placed a some pipe insulation around the extension wire to protect from the elements but mostly from the constant sunos that part of the house. The MC4 extension wire didn't have much insulation. 


Its always nice to caulk the hole before you forget about it and lose some heat/cool to the outside. 


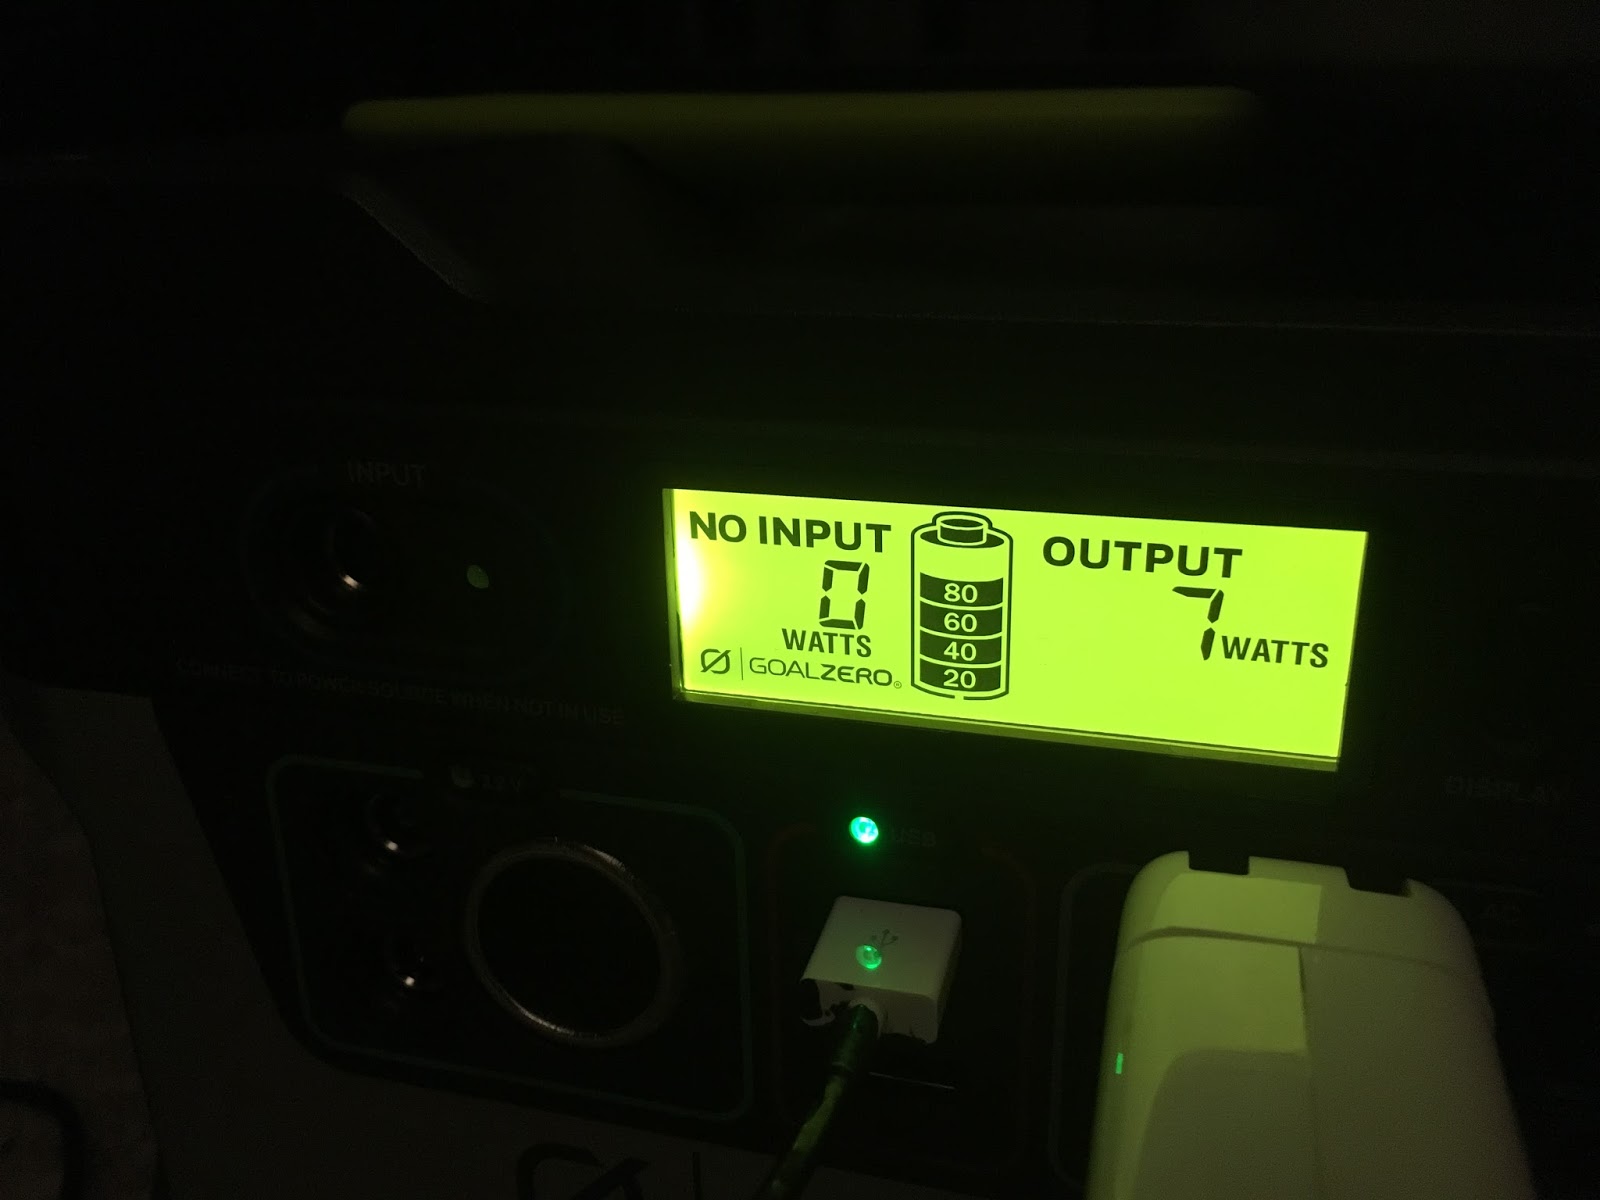
Easy set up with the generator in a convenient spot for charging all of our devices. Just another way to use less electricity from the grid. 


Surprisingly most of the things that we charge don't take that many watts. Looking forward to many more charges. 

Maybe one day we will go all solar. After an close cost analysis we use very little electricity for it to actually be beneficial. It would only benefit us in 11 yrs when the system is pain off. 

Sunday, September 18, 2016

JONAMAC APPLESAUCE!


One of my favorite times of the year is almost here, autumn. Recently when we went apple picking to Beak & Skiff Orchards it didn't feel like fall was around the corner with 80 degree weather. 

This was our first time picking Jonamac apples for eating and applesauce. They are known for being juicey and tarty. So this year I decided to make sauce from individual apple types inside of mixing 2-3 different apples. Also after doing some more recipe reading I decide to make 2 batches with slightly different ingredients.


While in the orchard I noticed that the apples were really small in size. One of the workers explained that the drought this summer influenced the size of the apples. This size however, made for an ideal eating portion size for myself and the kids. 


We really walked around several rows to find the largest apples for the sauce. And Adrian really enjoyed picking a few from the low branches and eating a couple as we rode the tractor back to the cashier. 


Lesya and I were really surprised at the amount of wax on the apples. After soaking the apples in the Young Living Fruit and Vegetable Wash for 10 minutes, we still had to really polish the apples with a paper towel to remove all of the wax. Removing the wax wasn't as important for the apples that we were peeling for the sauce. 


Although most recipes don't call for chopping the apples into smaller pieces, I feel like it takes less time to cook if the apples are smaller. 

BATCH #1 Recipe

4 lbs chopped apples
1/2 cup dark brown sugar
1 tsp of Kosher salt
1/2 cup water

BATCH #2 
4 lbs chopped apples
1/4 cup dark brown sugar
1/4 cup white granulated sugar
1 Tbsp Kosher salt (way too much: recommend 1 tsp)
3 Tbsp lemon juice

Place all ingredients into a Dutch oven pot and cover it up. Cook at high heat until it starts to boil. 

Turn to medium heat and leave pot open. Stir frequently. 

Cook for 45-60 minutes or until most of the apples turn a brown color. 

I used a food mill to make a less chunky texture. And cook for an additional 10 min. 


Get your quart or pint half jars ready. I like the wide mouth jars for easy pouring when filling and easy scooping when serving. Pour into jars. Label. And store for the winter months to come. 

The next apple we are looking forward to is the Gala and Honeycrisp.