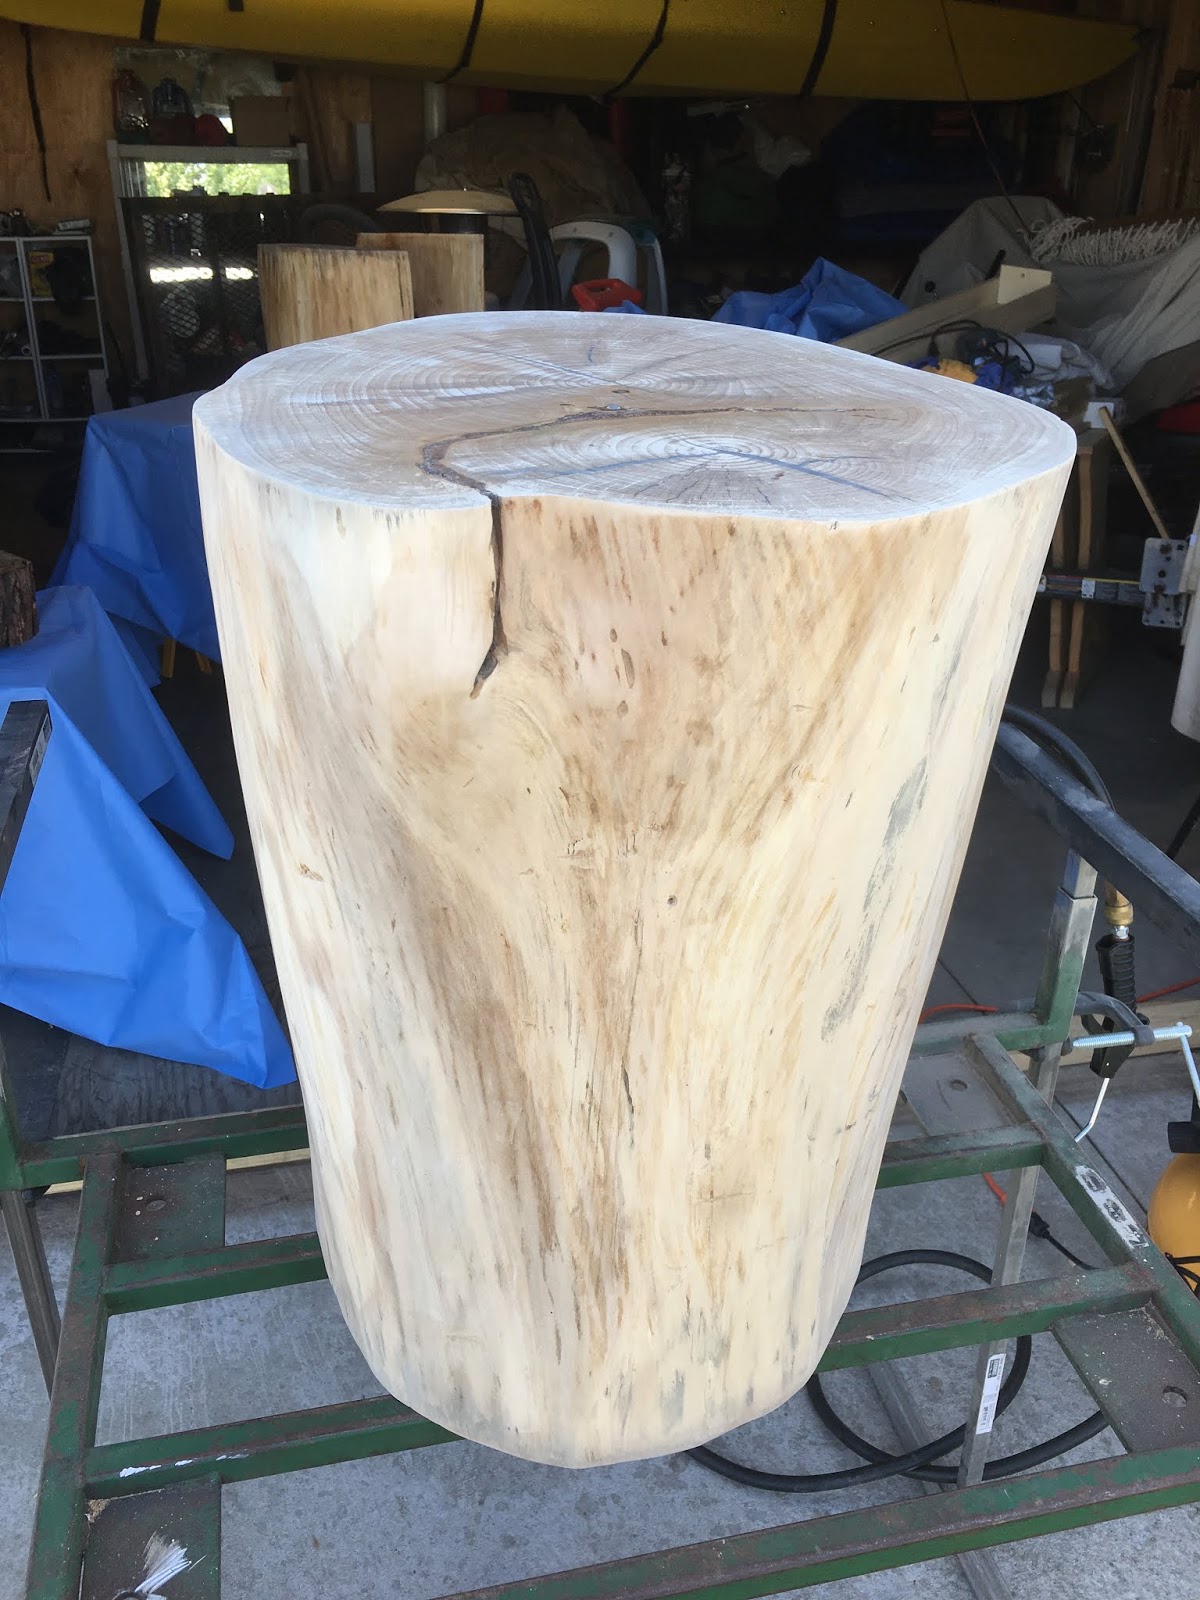
While hauling wood logs with my dad three years ago, there were a few couple pieces that really stood out and I thought maybe we could put theses aside just in case I get an idea. They were stored in a dry, well ventilated area and I didn't see them again until about a year ago. Around this time, my wife and I discussed how we wanted to finish furnishing our family room and then the idea struck me. Over a year ago I stripped the bark of 2 basswood logs to allow for more drying because there were some moist spots under the bark. I kept them outside during the summer and then I brought them inside during the winter. I also chose a maple stump for another table, but I wanted to keep the bark intact since it was in great condition.

Basswood log for outside bench

Maple stump for side table


Basswood stump for side table

Drying outside
As the wood was continuing to dry, I researched how to build a router leveling table. I had a steel table that was just hanging out in my garage and when looking at it more closely I realized that I could build a sturdy table that I can use again in the future. In my research, the professionals were planing gigantic pieces of wood for tables and I knew that I wasn't ready for that, so I started with the simple.
I was grateful for Tom W. who helped me out by welding the 4 long rails on both sides to be used to set the router trough/guide on top.

I wanted to achieve 2 goals with the table: I wanted to make sure it was adjustable up to 5" thickness and sturdy enough to hold the weight of the wood. It also turned out that it can be partially disassembled and tucked away in the corner when not in use.

After a lot of research for a planing router bit, I came across this one. It worked really well and I got two just in case the first became really dull. It appears like I will have these bits for a long time because the wear is very minimal. I suppose the wear would be greater if I used harder wood.


The first bump in the process was isolating the planing area so that my entire garage wasn't covered in wood shavings and thats a pain in the butt to clean up. So I used painters cloth and isolated that area at the garage door opening leaving me enough room just in case it rained and plenty of ventilation for the hot summer days. I ended up working in the evenings when the heat was tolerable.


After planing several pieces of wood, I got a 50 gallon garage bag of wood shavings. It was an every dusty experience, and the one day I didn't wear a long sleeve shirt, I got extra dusty. The router table worked really well and it was very easy to adjust the height, even with a heavy piece of wood sitting on it.

The dusty experience continued into the next phase, sanding. The basswood was very easy to sand because its a softer wood, the maple required some serious elbow grease. I started with the 80 grit and made my way to 120, 320, and then 600 for the final.


During the sanding process, all of the crevasses and tiny holes in the wood were filled with saw dust and they were easily removed with some compressed air. As a side note, I wore eye protection and a face mask for the entire prep right up to the epoxy filling. The fine dust can do a serious number on the eyes and cause serious lung problems if protective measures are not taken.

All of the wood that I had prepped had some serious crack's that needed filling and the best filler is epoxy in this case. I was a bit nervous about this next step and it turned out to be a good experience but I had to learn a lot by trial and error.
Right off the bat, clear epoxy stains wood, especially if its soft. So the best way to prevent staining is to use blue painting tape and tape off EVERYTHING but the crack. I started on the underside of the bench for experimenting purposes. I got the mixing down well and the application took some time because the cracks were deeper then I thought and the wood was just eating up the epoxy.


For the really deep areas, I mixed some black epoxy color so that it didn't appear as deep and it also hide the gas bubbles that were trapped in the resin. For the following coats, I used only clear.
The photo below depicts the dark brown areas that are stained by the epoxy.


For one of the basswood stumps I wasn't very diligent in taping off everything and I ended up with a lot more brown discoloration then I wanted.


There are a couple ways of removing the gas bubbles from the epoxy and I chose the heat blower because it was more convenient. The other way is using a blow torch. Whichever heat source is used, it could be passed over the surface of the epoxy very quickly up to 2 times. Going beyond a couple passes, cause the epoxy to boil and therefore create even more bubbles then when you started with. And then these bubbles cannot be remove with anything else.

As the epoxy hardens, it heats up to a very high temperature. The cup that had the leftover epoxy, was so hot that I had to put it down. The instructions clearly specify that any unused epoxy shouldn't be just thrown into the trash because it could easily start a fire.

I generally allowed the epoxy to set for at least 12 hours and most of the time it was more because the next opportunity to work on it was sometimes 2-3 days later. The next part was removing the blue tape. I used some art tools to assist in removing every spec of tape, including the one that was impeded in one of the layers of the epoxy.

As I alluded to earlier, after using the heaviest sandpaper I had on hand, I still couldn't sand down the brown epoxy stains. Therefore the next best option was to get the router out again and take off another 1/4." To my surprise, the epoxy penetrated the soft basswood a lot more than that. I really wanted to maintain a certain height of the table so I couldn't remove anymore.
A note for future projects: use the epoxy a lot sooner to fill in the larger cracks and then finish off with the router to remove any unwanted stain or tape around the cracks.

After the re-routing it was back to sanding, sanding, and some more sanding.

Meanwhile on the other slab of wood, I wanted o make sure there was no loose bark or mold remaining before applying the stain and poly. The steel brush surprisingly worked really well with limited scratch's on the bark. It also lightened up a few areas that allowed the bark to have a few more shades of woody hues.

I ordered a custom branding iron from China for a very reasonable price and I was really excited about the design however, little did I know that it was going to take 1.5 months to come. So instead of waiting for the branding iron to come I rushed ahead and stained the tables and was ready to apply the poly.
In retrospect it is best to place your mark before any staining, especially poly.


The wood stain of choice was the NATURAL, to highlight the more natural colors of the wood. Unfortunately because it says "natural" it doesn't mean that it won't darken the wood at all. This is the case with most stains I have used in the past.


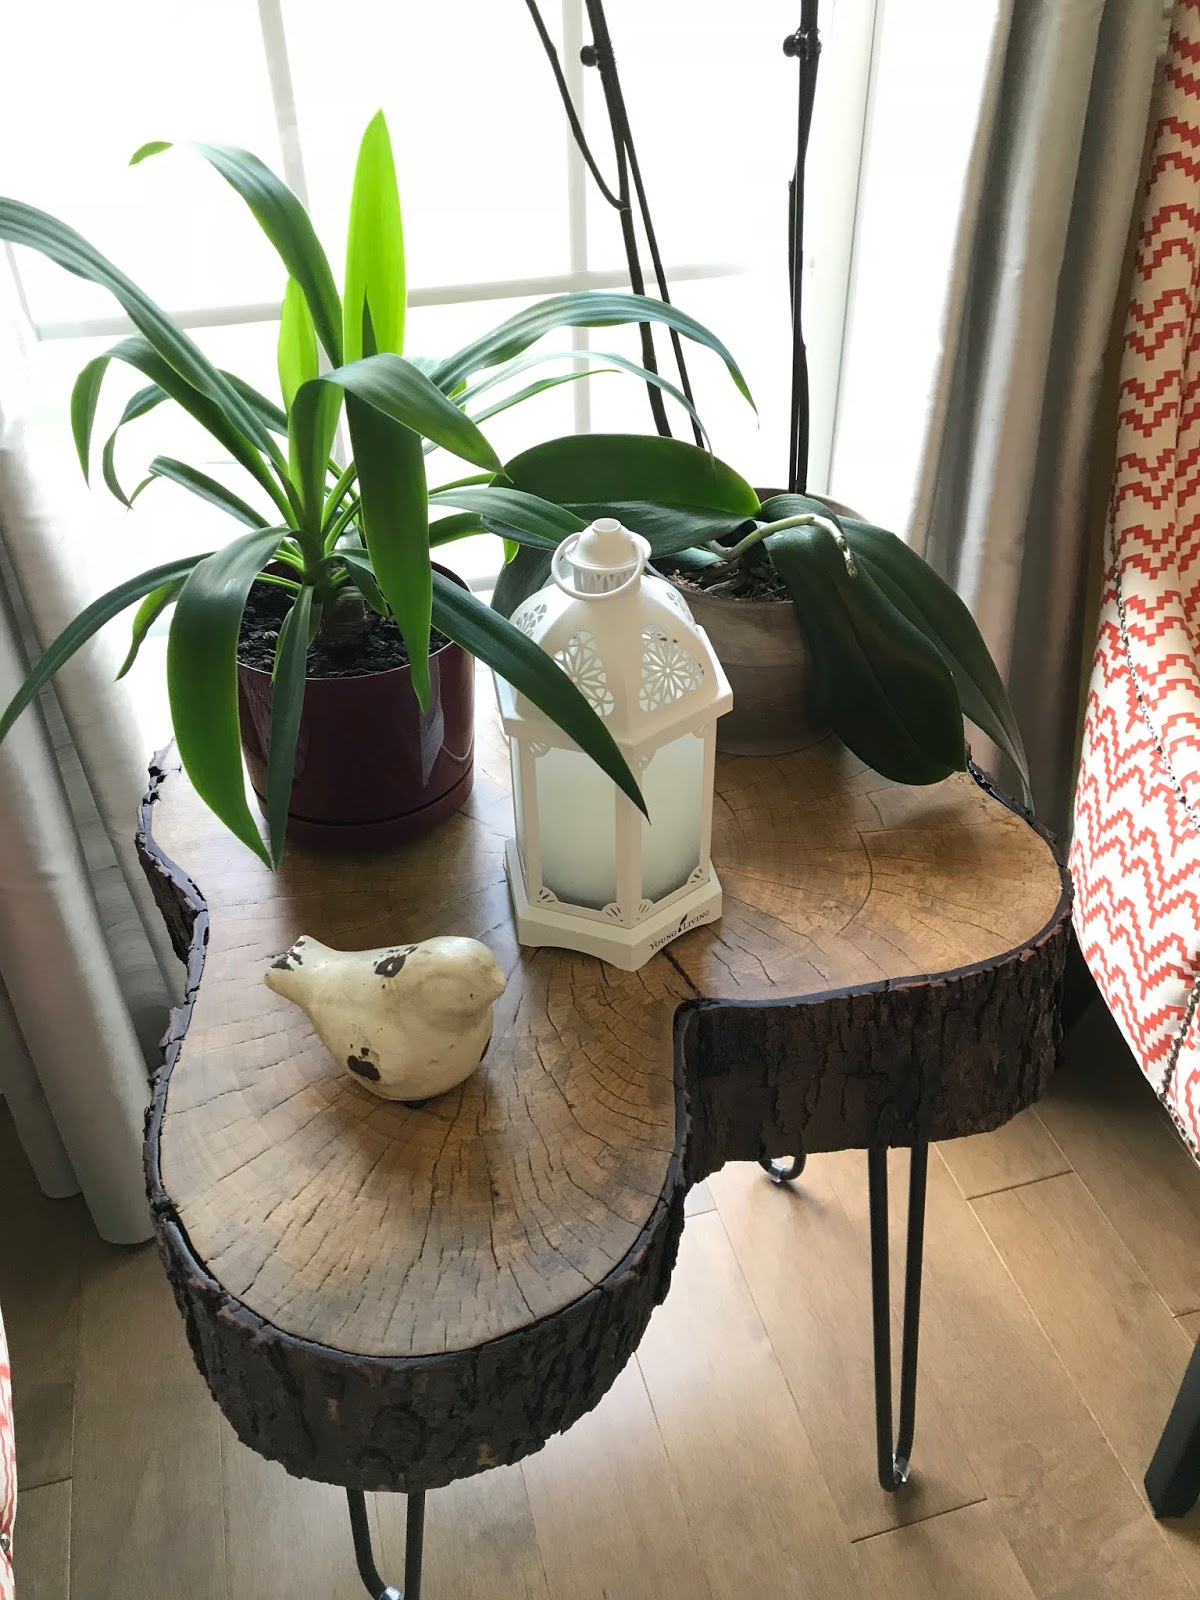
Apply poly was another step that made me anxious a bit more than usual. I didn't want the final look to be super shiny and so I settled with the Satin. At the same time I also wanted to make sure that I had enough coats to provide enough protection from any water damage results from spills. My wife was already planning to place small plants on the tables as decoration and thus increasing the risk of water damage. Not to mention that I had 3 children under 9 who could do more then just water damage.


After the 3rd coat, I was satisfied but didn't want to risk messing up the 4th. I also used a 600 grit sandpaper to sand down the small bubbles that form after the application.
Then I allowed the painfully long process of drying and hardening time. This was also a learning moment for me as I didn't know that the drying time/curing time takes up to 30 days and then some. Another way to assess how the dryness is coming along is by smelling the wood. The less it smells the drier it is. I waited for 30 days because I didn't want the extra fumes in the house.

During the drying process I also ordered the steel legs. I had a wonderful experience purchasing from AkiDesignCo on Etsy.com. They are based in Canada. The reason I chose these was because they treat all of the steel to prevent corrosion. Most manufactures on Etsy list whether or not the steel is treated in the details. Most of the them don't and its an extra step I didn't want to do on my own.


The final polish was done with a superfine unwoven pad sold at the local hardware store. It gives it enough sheen to look good and not super shiny.

My wife and I were really happy with the result. My wife was probably a lot happier because I didn't have to spend countless hours in the garage working.


I have some wood starting the 2-year drying process, so it gives me a little break between projects.