Showing posts with label FOOD. Show all posts

Friday, November 8, 2019

CHERRY WOOD SMOKED VENISON SAUSAGE!


Last fall I was able to pick up some fresh roadkill. Thanks to the Camillus PD officer who was kind enough to give me a call. And since then life went out and the meat was aging in the deep freezer for the right moment. Last weekend I became determined to get this meat processed and made into sausage. But this time around I wanted a bolder flavor in the sausage and after some research and combination of recipes I created something that I really enjoyed.

Now that the kids are older, everyone helped out in the process, even if it was just moral support. The process of making sausage is lengthy but at the end of the day, its something that I still enjoy doing. With each sausage making experience I learn something new.

NEW THINGS LEARNED: after cutting up the meat, set it back in the freezer for about one hour before grinding it. The chilled meat goes through the machine like butter/much easier. With a commercial grinder its hardly a chore.

After grinding down the venison, I added ground pork shoulder and grinded it together again. One can simply mix the two together by hand. I have alway used a ratio of 2 lbs venison to 1lb pork. The sausage is a little more gamier but it tastes more like venison and it still provides enough fat to the meat so its not as dry.


Another change in recipe that I did this time around was not immediately season the meat. I planned to smoke the sausages 2 days later. I added the ingredients the day before, a few hours before stuffing the casings. I usually buy my ground pork shoulder at Wegmans and because of convenience I bought the hog casing there as well. Later when stuffing, I had some terrible casing that had plenty of holes. 

I had 14.5 lbs of venison meat and I added 8 lbs of pork shoulder for total of 22.5 lbs venison/pork mix. 

Ingredients:

9             tbsp Kosher salt
9             tsp of ground black pepper
1 1/4 c    icy water
1 1/4 c    red wine
4.5 tbsp  celery seed
35           cloves of garlic freshly minced
45           bay leaves ground up

Mix all of the ingredients in and mix well. I then stuffed the sausage via the meat grinder with the sausage attachment. This is definitely a two-man job as its difficult to handle the sausage while adding more meat to the grinder. Thankfully my wife was able to help. This time around I didn't prepare the proper thread to tie off the sausage and later I payed the price as the sausage tore open. 


After stuffing the sausage, I kept the links in the fridge until the next day. 

On the following day, I placed the sausage on baking sheets on the table. This allowed them to be open to the air for a couple hours so that the casings would dry up and get a matte look. 

Meanwhile I prepped the cherry wood chips by soaking them in water for about 30 minutes. This was also the first time I was going to hang the sausage instead of laying it on the shelves. I purchased "s" shaped stainless steel hooks on Amazon. 

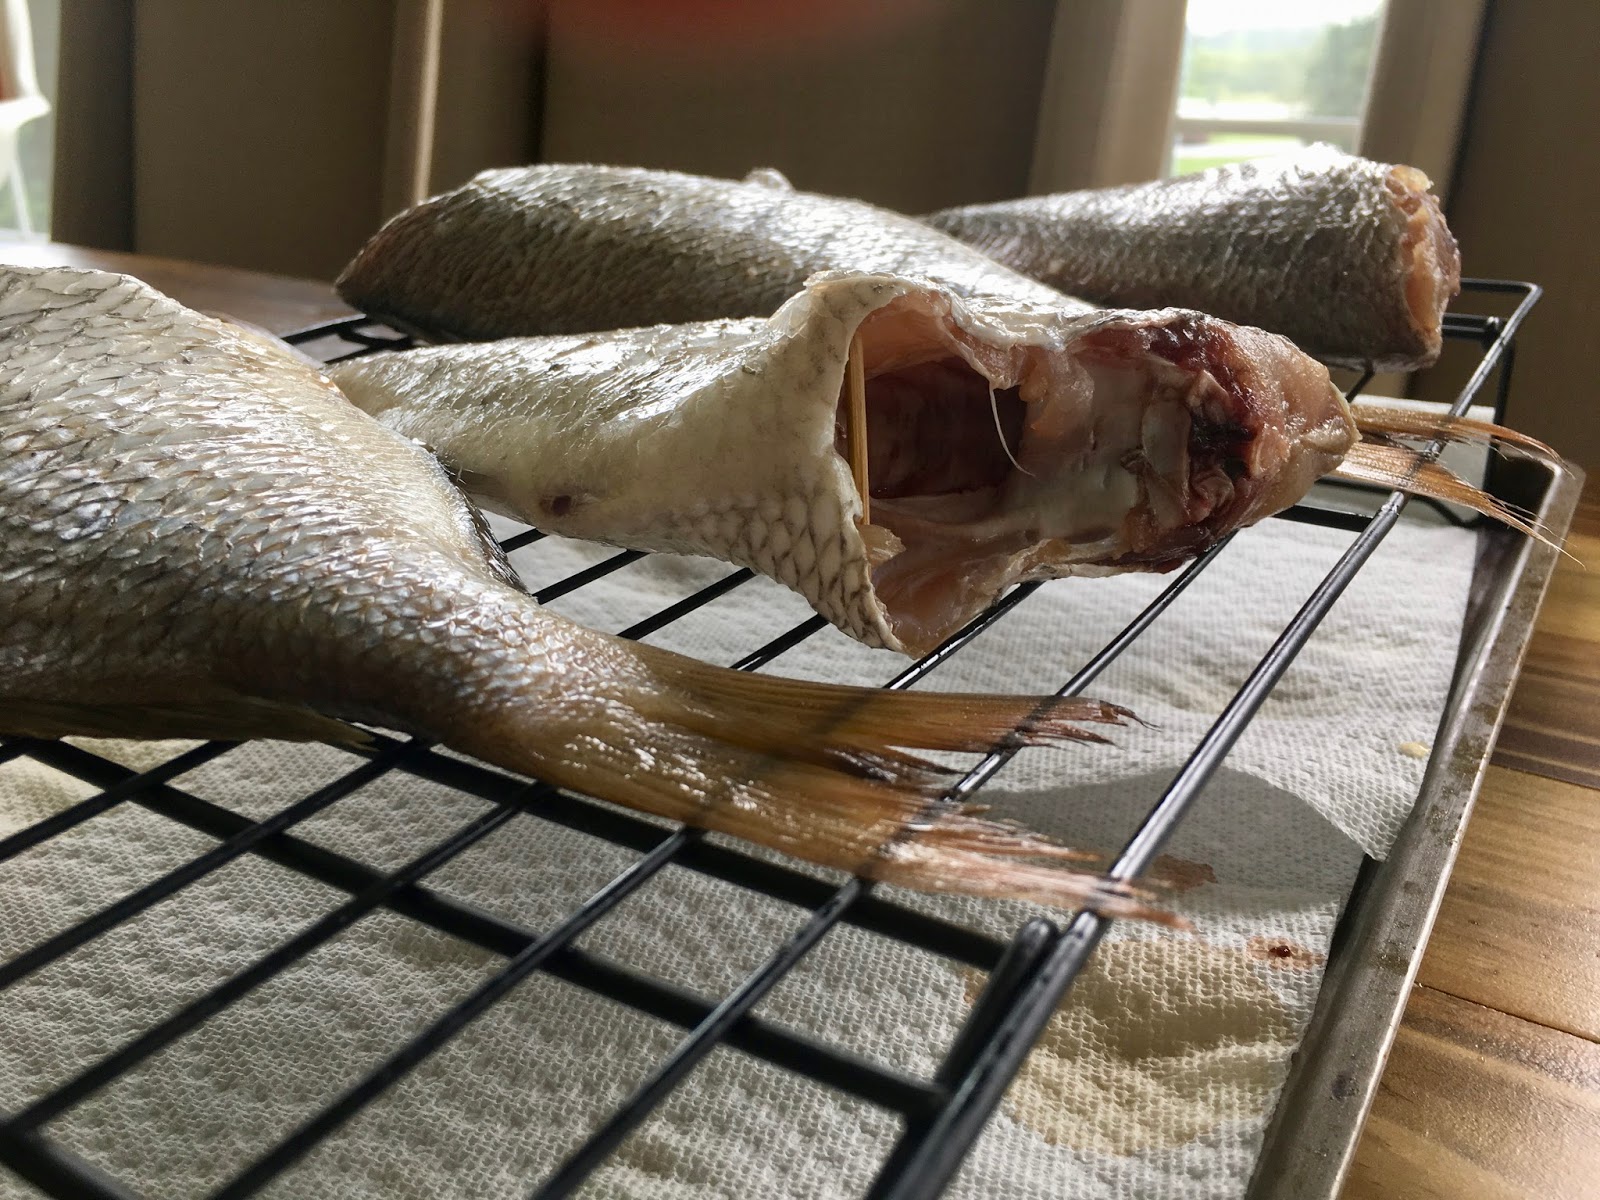
Once the smoker was prepped and the smoke began to wisp throughout the smoker, I began hanging the sausage in the smoker. I had couple strings fail on me and there was some restringing that was done to keep the sausage in the hooks. But it was nice to have the grate at the bottom to catch the rings.


And then the babying began! The weather was exceptionally nice but that didn't help my smoking process. The smoker temperature was rising a lot faster and there was a lot of adjusting by opening the vents and even the door.  

NEW TECHNIQUE: I titrated the temperature differently in the following method: 140 degrees for 1 hour, then 160 degree for 1 hour, then 180 degrees until the internal temperature reached a 152 degrees. 


The total smoking time was about 4.5 hrs. I always have a meat thermometer and an air thermometer in the smoker for more accurate temperature measurement. Once the meat temperature hit 152 degrees Fahrenheit, I turned off the burners. I had an ice bath prepped. I used the ice bath technique before it and it works really well. The idea is to bath the sausage in cold water in order to get the internal temperature down to 100 degrees or less as quickly as possible. This prevents the sausage from wrinkling.  


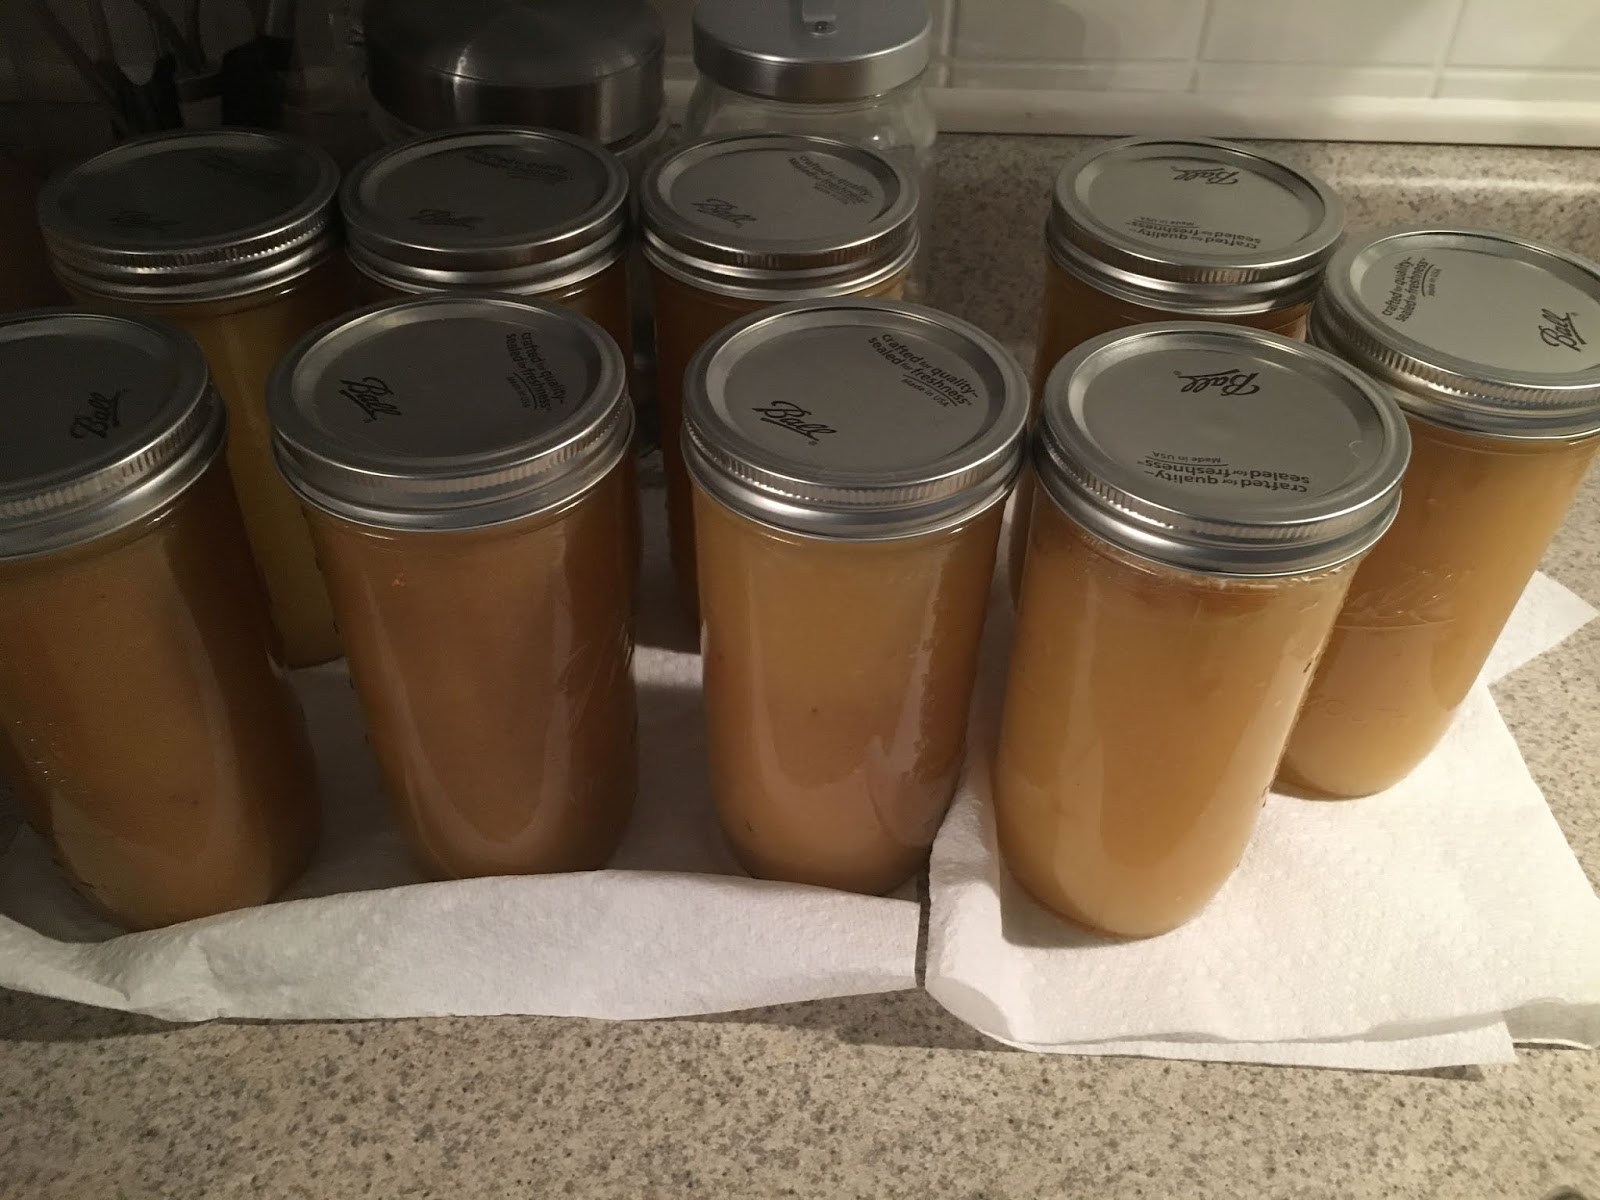
After a nice little bath, the sausage were spread out on some towels in the kitchen to allow them to cool off completely. The time frame is usually about 24 hours of cooling and curing. The turn out was 24 links/rings of sausage. 


A third of sausage we gave away to family and friends. A couple of rings we ate over the course of the next few days and then we vacuum sealed and froze the rest. 

Generally speaking, smoked sausage can hang out in the refrigerator for 3 weeks and months in a deep freezer.

THINGS TO IMPROVE ON NEXT TIME:
1. Smoke sausage in cooler outdoor temperature.
2. Use better string to tie off the sausage casing.
3. Add more salt, maybe right after grinding up the meat.
4. Maybe add more pork for a sausage with more moisture. 

Friday, November 9, 2018

SMOKED FISH CREAM CHEESE SPREAD

A few years ago, I had the opportunity to do some porgy fishing off the coast of Massachusetts. I smoked some fish and we had so much left over, I had to get creative. After getting a couple ideas online, I decided to create my own spread. 

Earlier this year, my friends went fishing and had a great catch, so I a few extras that they had. After smoking the fish I decided to make some spread once again. 


THE RECIPE:

1       Whole smoke porgy fish (may use any smoked fish)
1-2    Tbsp cilantro chopped (may use dry cilantro flakes as substitute--eyeball amount)
1        Tsp black pepper (titrate to likeness)
1        Pinch of kosher salt (may omit if fish is salty)
1        Tbsp lemon/lime juice
2+      Splashes of Tabasco sauce (titrate to likeness)
1        Small onion chopped
4-5     Tbsp cream cheese (1Tbp = 0.5 oz)
3-4     Tbsp mayo

Place all ingredients into a food processor and blend well. At this time it is good to try the spread and see if you would like to add more things like: pepper, cilantro, Tabasco sauce, onion, or even fish. 

This year I added a bit more fish then previous years and it turned out really good. 

It's a great snack in between meals or when watching a game on TV. It goes faster than you know it!

Enjoy! 
        

Thursday, November 8, 2018

ULTIMATE NATURAL HOMEMADE APPLESAUCE!

Like many people in the northeastern part of the United States, fall not only ushers in the magnificent colors but there is also the outdoor activities such as apple picking. Fortunately we live only 10 minutes away from the best apple farm in the area, Beak and Skiff. Over the last few years the farm has grown significantly to wear it has a bakery, a brewery, and a restaurant. Every fall we find ourselves going to the farm for more than just apple picking. The kids also enjoy the playground surrounded by apple trees and great views. For the parents its a great place to hang around, socialize, and drink something good.

The last time I made applesauce was over 2 years ago and unfortunately that experience wasn't that great because I added to much salt to the sauce and we threw away several pints. The learning experience went a long way.

Beak and Skiff has a variety of apples to pick and this year I decided to experiment with different apples. The first apple in season that interested me was the Empire. According to the description on the picking schedule it is great for eating, making sauce and picked in early October. We spent out first apple pick with friends who have never been to Beak and Skiff.   


All of our kids love the picking part but carrying their bag back to the registers always fails. We picked about 35 pounds of apples for eating and sauce.  


I generally like to have at least two different apple types in the sauce so I had to wait a couple weeks before the Ruby Frost and Fuji were in season. Fuji is described as great for eating, making sauce, and baking. Ruby Frost was new to my taste buds, but when I sampled it was an instant favorite. The best way to describe the first impression is very juicy, light tart, with a mild sweetness. The website describes the Ruby as great for eating, sauce, baking and salads.


I ended up picking one full bag of each kind. I made sure I got some smaller ones for eating.


Now that the easy part was done, the next few steps take a lot more time. It takes a lot of apples to make a small amount of applesauce. 

BATCH #1: Empire (13 apples) and Fuji (13 apples)

BATCH #2: Fuji (12 apples) and Ruby Frost (12 apples)

BATCH #3: Ruby Frost (10 apples)

The reason that I made three different batches was because I picked a lot of apples.


Once the apples are peeled, I chopped them into the dutch oven I use for jams. I make sure its full to the brim and then some because as soon as the apples warm up, the pot becomes half empty. For the first few minutes, the heat is on high with the lid on until the juices at the bottom come to a boil and then the heat was turned down to medium. I also make sure to remove the lid to allow for some water evaporation. Make sure to stir the apples every 5-10 minutes to prevent burning.
 

I allow them to cook until most of the apples are soft and falling apart. Then I turn off the heat and use a soup mixer and blend the apples to a fine applesauce consistency. One could blend them a lot less and make a nice apple jam thickness. To make jam I would cook it for a little longer, to get rid of more water.


Once blended I added 2-4 tablespoons of organic lemon juice. I used the Santa Cruz this time and I like the results. I use lemon in all of my sauces and jams because it has natural pectin which helps to thicken the fruit and it also has natural preservative properties that will allow for the food to not spoil as quickly.


Unless a tarty applesauce is preferred no other things need to be added at this time.

My family likes to have a little sweetness in the sauce and my favorite sweetener is honey. We use honey that is derived from our family's beehive and therefore its readily available all year round. Honey is best added when the sauce is around 115 degrees Fahrenheit in order to preserve all of the natural properties of the sweet goodness. Unfortunately I didn't have the patience to wait that long so instead I waited until the temperature dropped to about 150 degrees (from 185) and then added anywhere from 5-8 tablespoons of honey. The Ruby Frost required a bit more honey.
   

Even at 150 degrees, the sauce is warm enough to melt honey. Make sure to stir in the honey and lemon juice really well. Turning the heat back on is not necessary because you will be fighting sauce bubbles bursting on the surface and splattering on your skin and everything else in a 3 foot diameter.

While it is still warm, I quickly transfer the sauce into the hot and sterilized glass jars. Then they go into a hot water bath for 10 minutes from the point when it starts to boil.

Allow the glass jars to cool for a few hours, like over night. They are ready to be stored in a cool, dark place until opened. It is ok to refrigerate, to have a nice crisp taste to the applesauce, but it isn't necessary. Our canned goods rarely survive more than a year.

Wednesday, July 4, 2018

JAM POINT-O: A SIMPLE SUMMER STRAWBERRY!

Since I planted our strawberry patch in the spring of 2017, many people have asked me what type of strawberries I have and why I chose them. I have two types of ever-bearing plants: Seascape and Mara Des Bois. The nice thing about these plants and many other types of ever-bearing is they will bear fruit until the first big frost. Like most strawberries they will bear fruit really well up to 3 years and then there may be a sharp decline of fruit. Some people say that you never have to replant new strawberry plants and they aren't wrong either but the amount of fruit will be a lot less then if they were young plants. 

The "why" these plants was because thats the ones that were recommended to me at the Nourse Farms Inc. where I purchased the plants. Locally Abbot's Farms sources their strawberries plants from this nursery in Massachusetts.  

We are on year two and we have seen a very abundant first harvest, in fact it was so plentiful that we have 6 pounds of berries in 4 days and I so decided to make jam out of our very own. I have to admit that I never enjoyed picking strawberries at the farmers for a few reasons: it was usually a hot summer day when we went picking and the fields don't have any shade, you really have to search for the big ones and they are never together unless you are one of the first people into the field, and the joy of going to the farmers wasn't there either. 

Last year I started to install my drip irrigation system for fast and easy watering of the garden. After fine tuning it this year, I have been happy with how well water is delivered to each of the plants. Although we had a dry spell already this year when I had to supplement from the house. 


As the first fruit starting coming in, we found many berries were eating by strawberry thieves. At first my thought was rabbits, but with a fence around the entire garden, that wasn't possible. Last year we had a family of field mice set up camp in the sorrel. After some observation I realized that it was the birds. And so up went the bird net, purchased on Amazon. We have seen minimal loss of berries since then. 


The rotting and already partially eaten berries I just threw outside the garden for Peter Rabbit and his bird friends to enjoy. 

A perfect berry


This year I decided to make a simple strawberry jam and you will see why its really easy to make jam by the ingredients. 

INGREDIENTS:
6 lbs       washed and greens removed strawberries
1 cup      lemon juice (lime is ok as well for a substitute)
7 cups     granulated white sugar (I used 8 and it was too much) (substitute with 3.5 cups of honey)

Yields 7 pint jars of jam.

1. Bring berries to a boil via medium/high heat. 
2. Turn heat down to medium and gently add sugar, stirring frequently.
3. Boil at a low simmer for 30 minutes to 2 hours depending on your preference of jam viscosity. 
4. Immediately transfer to jars and then boil for at least 10 minutes, depending on your elevation above sea level. 

Last year I added Grand Marnier, an orange-flavored liqueur and it created a very unique taste that not everyone liked in my family. 

I don't ever use pectin for two reason, less is better and natural is always better. The lemon juice has some properties that act similar to pectin and it's a great natural preservative for longevity.


I have been asked several times, how long I allow my jam to boil? Most recipes that you will find online require the boiling time to be 5 minutes at the most. As most of us know that most berries have a lot of water content. Even before sugar is added, once the berries start to boil, its very obvious at the amount of water content in the pot. So the duration really depends on the preference of jam thickness/viscosity. I prefer mine to be a medium thickness so it spreads really well on waffles or bread and butter. To get a medium jam it requires about an hour of boiling. Really thick, marmalade style, usually 2 hours. The longer you boil, the more you need to stir and make sure its not burning at the bottom. I keep at steady simmer and not a hard boil which allows for more water to evaporate. 


Before transferring that jam to prepped jars, make sure to remove the scum that floats on top. It tastes really good, so transfer the scum to a glass container and its a nice spread for breakfast. 


After my first experience of canning, I realized that the contents of jar are preserved so much better if the seals mold to the glass jars in a hot water bath. And it doesn't require storing them in the refrigerator. So I have been doing it ever since. 


So this is my 2018 Strawberry Jam 8.0 (number is based on the cup amount of added sweetener). 

Sunday, July 30, 2017

SMOKING PORGY (SHAD) FISH!


A few weeks ago I went fishing on the Blackhawk II charter boat of the coast of Massachusetts and maxed out on Porgy fish. After sharing some with family and frying it the good old fashion way, I decided to try something different. Smoking fish has been on my "must do" list for awhile, so with a few extra fish in my deep freezer it was a good opportunity. 

When googling the subject, I didn't find an endless list of things to do with porgy fish like I expected. Smoking porgy had even less hits. However I was able to do enough research to compile a brine recipe and get a better idea of how to smoke fish. 

A recommendation from one source using a brine to properly clean the fish from the blood, slime, etc. I like the idea and it turned out well. 

The fish can be prepared in several different ways. The easiest way is have it gutted and head removed, with scales on. My fish was gutted, scales and head removed. I also wanted to try just fillets for variety's sake. 

BRINE 1
8 cups water 
1 cup Kosher salt

BRINE 2
8 cups water
1/3 cup of Kosher salt
1/2 cup dark maple syrup
1 chopped medium onion
3 minced garlic cloves
2 tbsp lemon juice
1 tbsp black pepper
1 tsp chili powder
4 bay leaves
1 tsp coriander seeds

Bring the contents of both brine to a simmer and turn off the heat. Both brine need to be cooled prior to using, so I prepared the brine in the evening and allowed both of them to cool to room temperature over night. I also took the fish out of the freezer and allowed it to defrost until brining time the next day.

The nice thing about brining fish is that it doesn't take very long. In this case, longer is not better, but some larger fillets may need longer brining time. In this case, brine the fish in the first brine for 30 minutes. Remove from the brine, gently rinse the fish with cold water and place in the next brine. To make the brining process easier, I used freezer ziplock bags for both brines. Doubling them up is a good idea when fish still have the spines that can puncture the bags. Brine the second time for 1-2 hrs. 


Remove from the brine, it on some drying racks and pat dry with a paper towel. It takes about 2 hrs in a low humidity room for the fish to form a pellicle. The drying process could be lightly expedited by using a fan. The whole house may have a lovely smell of brined fish but it goes away when quickly once removed.


Meanwhile, take this time to get the smoker and wood chips ready. This was my first time using
alder wood. The smell was amazing and the best choice for any type of fish. The alternative if you don't have alder is mesquite and apple. It's important to not over do the mesquite because it will have a bitter taste. Soak the woods chips for one hour. 

With my smoker I know it takes about 45 minutes to warm up to at least 300 degrees and then the wood chips begin to smoke. Twenty minutes later I can place the food into some nice quality blue smoke.


When examining the drying fish, the skin will feel drier and and even sticky in spots. A sufficient drying time is necessary because the smoke will adhere to this layer on the fish.


Once in the smoker make sure the fillets and thinner fish are on the take rack, further from the heat source. This time all 4 racks weren't needed so I removed them. Less cleaning to worry about later. 


Smoking temperature is critical to the outcome of a well smoked fish. Too hot and the fish might as well have been done in the oven. One way of knowing that the heat was to high is the oozing of a white sticky fluid which is the breakdown of the proteins holding the muscle fibers together. 

Cold smoke can be done with the proper equipment, maintaining the temperature around 90 degrees for 6-8 hrs. I used hot smoke which is defined as maintaining temperatures between 150-175 degrees F for 2 hours. Then turning up the heat to 200 degrees and maintaining it until the internal temp is 160 degrees. 

Unless it's freezing outside, it's difficult to maintain a really low temp on a propane smoker. To reach the ideal cooking temperature I had to keep the door open about 1/2 inch and keep one burner on at the lowest setting. It worked well with just a little more frequent checking. 


At about 2.5 hours I placed my barbecue Redi-Chek thermometer in the largest fish I had. I was at 140 degrees but with the heat turned up to 200 degrees the internal temp rose steadily. 


Once at 160 degrees internally, I reopened the door and because I had great smoke billowing out I decided to keep it going for another 30 minutes. After the smoke finished up, I like to just open the door of the smoker completely and allow the meat to gradually decrease in temperature before bringing it into the house. 


I have seen and tasted the quality of professionally smoked fish a great deal over the course of my life primarily because of my Ukrainian nationality. Although this fish wasn't professional quality yet it tasted really good. 


In particular, my kids and myself really enjoyed the fillets because of the stronger smokey flavor. 


For dinner that evening my wife prepared delicious baked potatoes which pared well with the smoked fish. 


Smoked fish can be enjoyed in many different ways. It can be sliced and placed on a cracker. I'm hoping to make a cracker spread as an appetizer while the fish lasts. 

For longer storage purposes, smoked fish should be refrigerated or frozen.